

Building an email list is useless if your contacts are scattered across different files and platforms. To run campaigns properly, you need all your data in one place. That’s where learning how to import contacts in Mailchimp becomes important.
Instead of adding subscribers one by one, Mailchimp allows you to upload an entire contact list at once using a spreadsheet. When done correctly, this saves time and keeps your audience organised.
This guide explains how to efficiently import your contacts into Mailchimp and structure them for future campaigns.
Step 1: Prepare Your Contact List
Before opening Mailchimp, your spreadsheet is ready.
Each column should represent a type of information, such as:
- Name
- Email address
Phone number
Company
Location
Business details
Remove empty rows, check for mistakes, and make sure every contact has a valid email address. A clean file reduces errors when you import contacts in Mailchimp.
Once your file is saved on your computer, you’re ready to upload it.
Step 2: Upload Your Contacts to Mailchimp
Inside your Mailchimp dashboard, you can import contacts through the audience section.
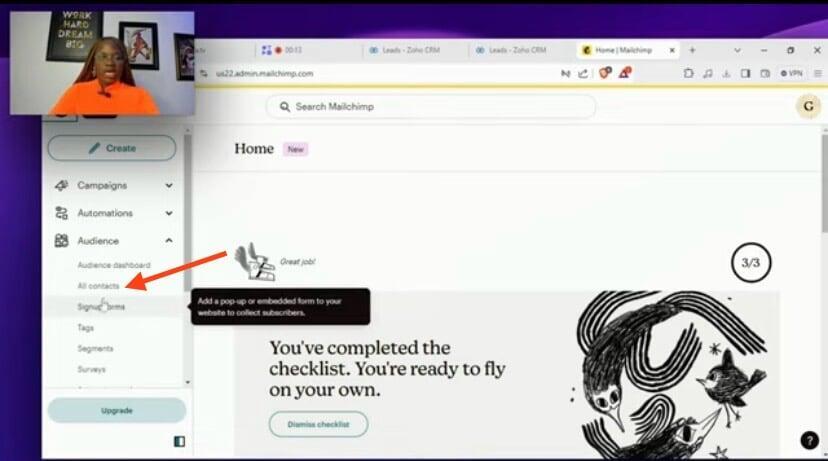
Select the option to upload a file and choose your saved spreadsheet. This is the fastest way to upload contacts to Mailchimp in bulk.

After uploading, Mailchimp scans your file and prepares it for organization.
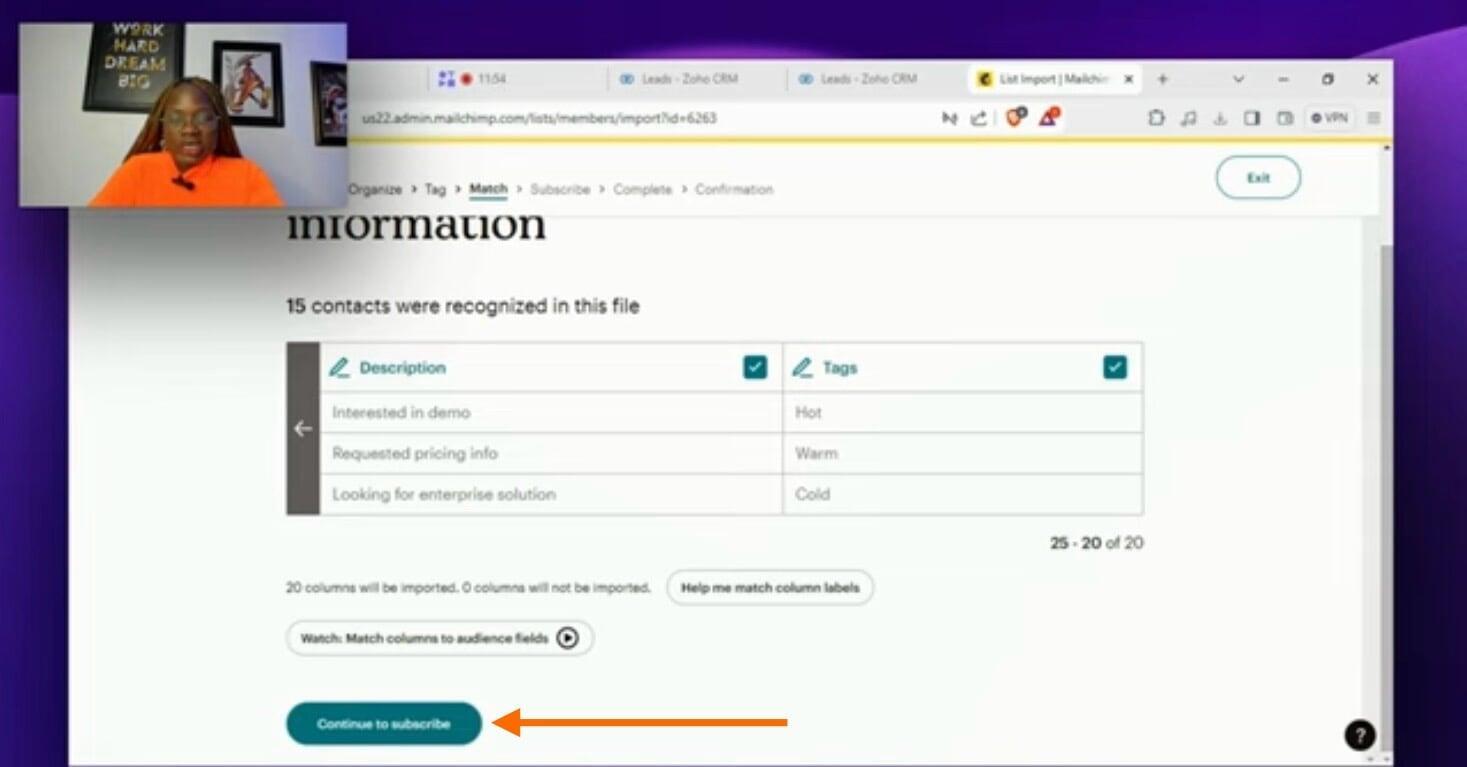
Step 3: Organise Contacts with Tags
Tags help you separate contacts based on their relationship with your business.

You can use tags to identify:
- Customers
- Leads
Prospects
Subscribers
Adding tags during import makes future campaigns easier to manage. Instead of searching manually, you can target specific groups instantly.
Step 4: Match and Structure Your Contact Fields
Every column in your spreadsheet must match a field in Mailchimp. Some fields already exist, while others need to be created.
Standard fields usually include:
- Name
Phone number
Custom fields may include:
- Job title
- Industry
Revenue
Website
Address details
Company information
When a field does not exist, create it and assign the correct data type. This step is the foundation of any reliable Mailchimp contact import tutorial because it determines how your data is stored.
Step 5: Handle Address and Business Information Properly
Mailchimp often groups address information together. If your business requires separate address fields, you can create custom ones for better organisation.
The same applies to business-related data such as employee size, revenue, and lead source. Storing this information properly allows you to segment and personalize campaigns later.
This structured approach is essential when you import spreadsheets to Mailchimp for professional use.
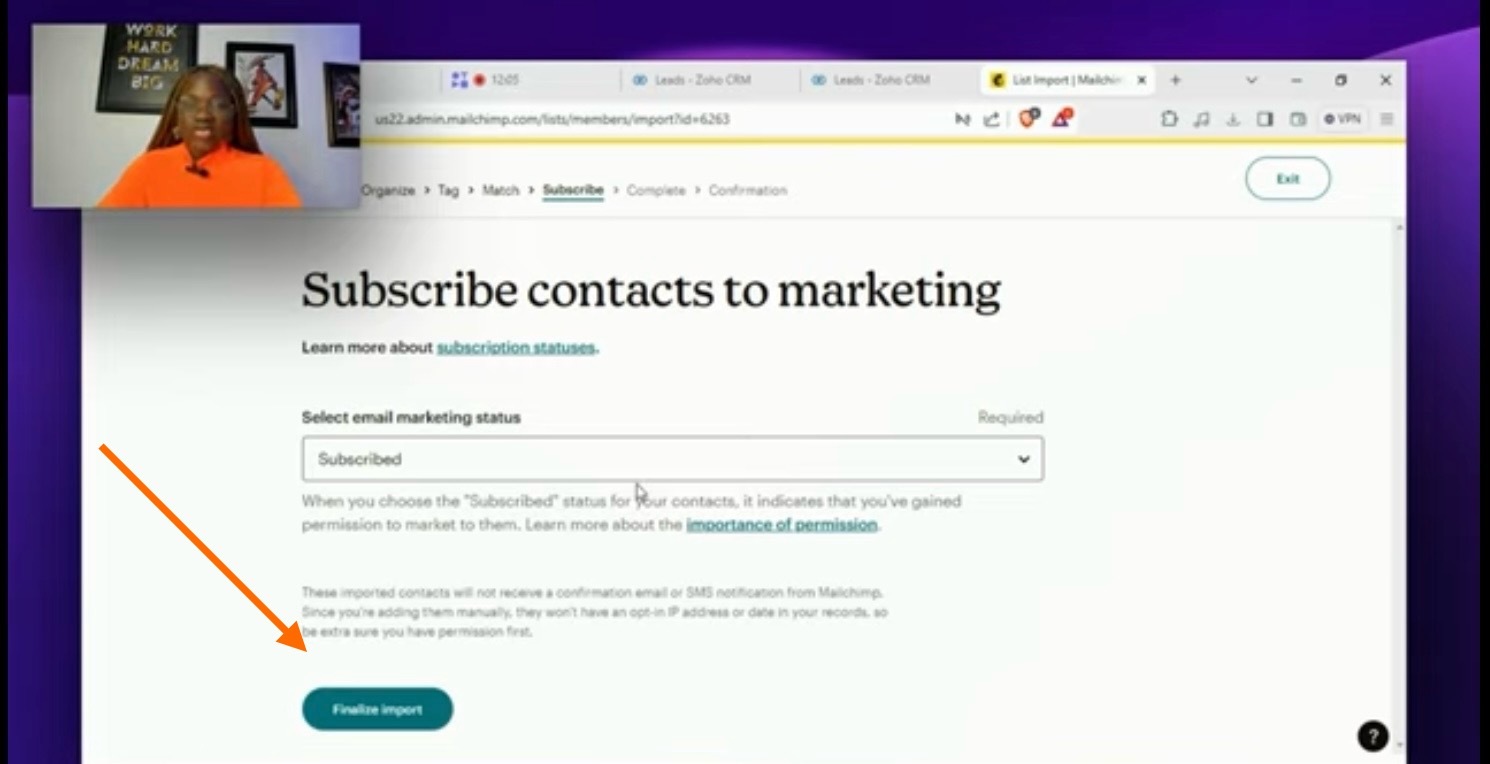
Step 6: Set Subscription and Permission Status
Before completing the import, you must define how Mailchimp treats your contacts.
Only mark contacts as subscribed if they have given you permission to receive emails. This protects your account reputation and improves campaign performance.
This step should never be skipped when learning how to import contacts in Mailchimp for real marketing use.
Step 7: Review Before Finalising
Mailchimp provides a summary of your import settings before completion.
Use this page to confirm:
- Field mappings
- Tags
Subscription status
Upload source
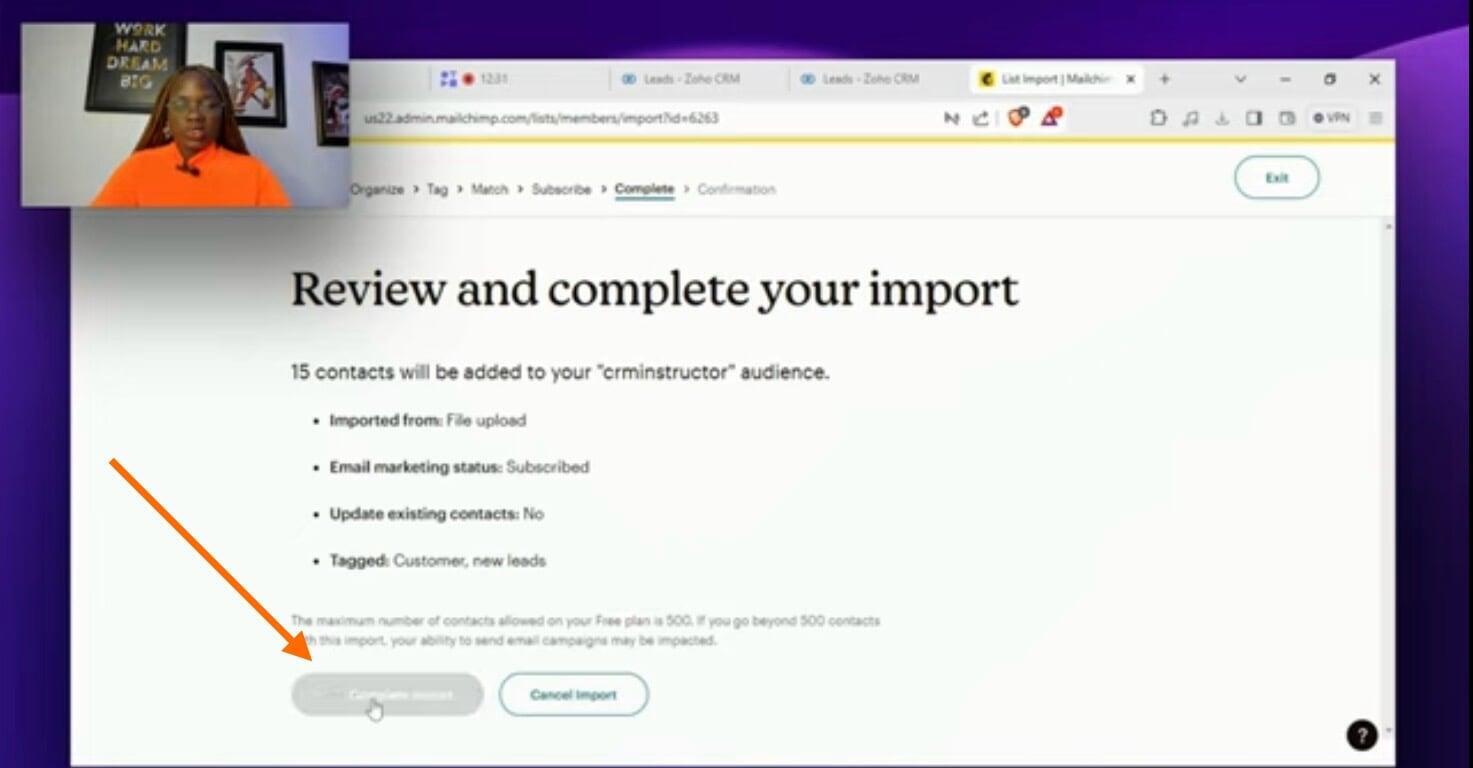
Taking a moment to review prevents costly mistakes and ensures your data enters the system correctly.
Step 8: Verify Your Imported Contacts
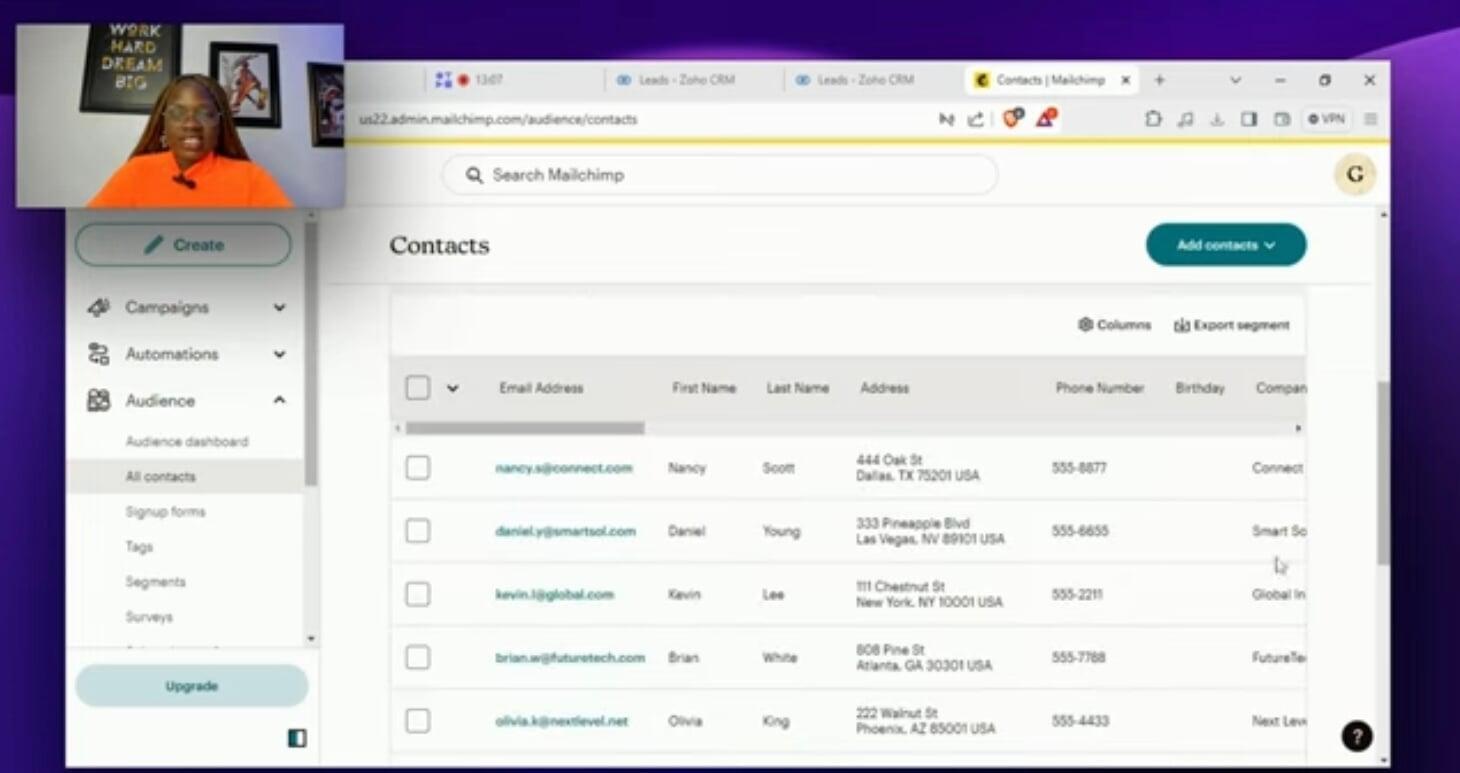
After the import is complete, check your audience list to confirm that your contacts appear correctly.
Review a few profiles to make sure names, addresses, and custom fields are properly stored. This confirms that your Mailchimp contact import tutorial process worked as intended.
Conclusion
Understanding how to import contacts in Mailchimp is about more than uploading a file. It’s about building a structured, reliable database you can grow over time.
When your contacts are organized, tagged, and mapped correctly, every future campaign becomes easier to manage and more effective.
If you want more practical tutorials like this, subscribe to the YouTube channel for regular updates.
Import Contacts with Confidence
Watch our step-by-step tutorial to import contacts efficiently and organise your audience